REVIEW · VANCOUVER
Photography, Gondola & Snowshoeing
Book on Viator →Operated by Nature PhotoHikes · Bookable on Viator
Glaciers and photos in one long day. This Vancouver outing mixes Joffre Lakes hiking with a Sea to Sky Gondola scenic drive and hands-on camera help from guides like Nafees Shams, so you get both the views and the how-to.
Two things I really like: you get plenty of one-on-one instruction, and it works whether you shoot with a DSLR or your phone. You also get a practical way to enjoy the day without rushing—there’s time to bring a picnic and eat at the top while the scenery stays the main event.
One drawback to flag: plan for a serious day. The hike is about 6 hours round trip, plus the drive time from Vancouver can stretch the whole experience to around 12 hours, and the Joffre Lakes hike is best for experienced, very fit hikers.
In This Review
- Key things you’ll notice on this tour
- A Vancouver day that turns sightseeing into real photo practice
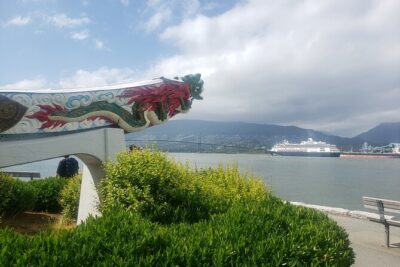
- Sea to Sky Highway and the downtown-to-nature flow
- Sea to Sky Gondola: a scenic start with time to reset
- Shannon Falls Provincial Park: waterfall photos without the chaos
- Joffre Lakes hiking: 6-hour round trip to glacier-cold rewards
- Eat, rest, then shoot again
- What the trail feels like (and why gear matters)
- The photo lesson part: how your guide helps you shoot on the move
- What to pack so the hike stays fun, not miserable
- Price and value: is $161.38 a good deal?
- Weather rules: why it can run in all conditions, but still needs good weather
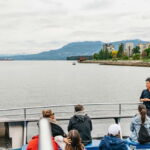
- Small group, long day: who this suits best
- Should you book it? My honest take
- FAQ
- How long is the tour?
- Is pickup from downtown Vancouver available?
- What is the meeting point?
- How many people are in the group?
- What language is the tour offered in?
- What’s included in the price?
- Is food included?
- Is this tour suitable for DSLR or smartphone cameras?
- Does the tour run in all weather?
- What happens if I cancel?
Key things you’ll notice on this tour
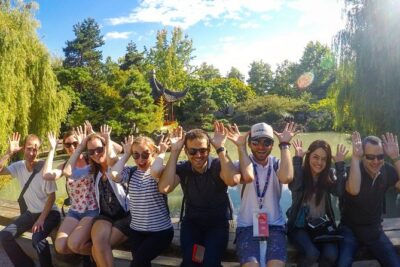
- Small group size (max 7): more time for your questions and fewer people blocking your shot.
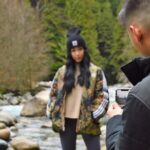
- Pro photographer guide: you learn how to take photos while walking, not just posing.
- Camera-friendly setup: tips for both DSLRs and smartphones.
- Built-in photo stops: Sea to Sky Gondola views plus a stop at Shannon Falls Provincial Park.
- Picnic at the top: an easy win for enjoying the moment longer, not just passing through.
- Optional lake dip: if you are brave, you can take a dip in the ice-cold glacier lakes.
A Vancouver day that turns sightseeing into real photo practice
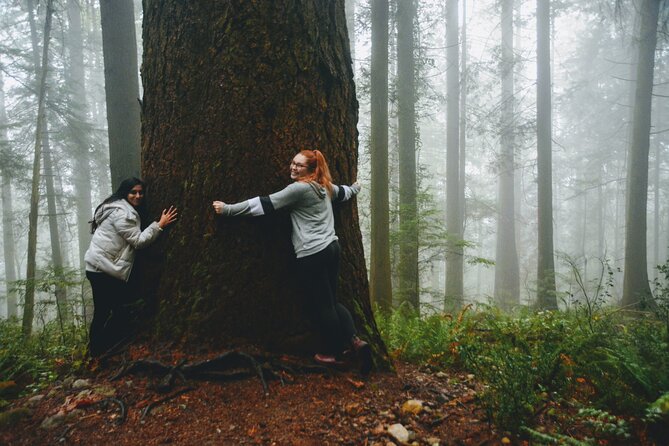
If you like nature photography but you hate the usual tourist scramble, this is the kind of day that feels calmer. You’re not just being transported from one viewpoint to another. You’re actively learning how to frame waterfalls, lakes, glaciers, and forests while you hike. With a group capped at 7 travelers, it’s easier to get quick guidance and adjust your settings or technique on the spot.
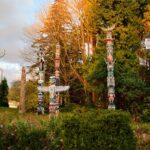
The other big win is the pacing choice. This isn’t a quick “see it, leave it” outing. You get time to slow down, take in the views, and actually work on pictures—then you eat, rest, and keep going. Even the small cultural thread matters here: your guide shares context about Indigenous people of the area, not as a footnote, but as part of the story of the land you’re walking through.
You can also read our reviews of more photography tours in Vancouver
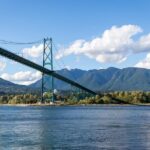
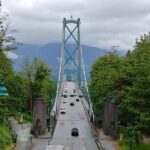
Sea to Sky Highway and the downtown-to-nature flow
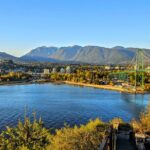
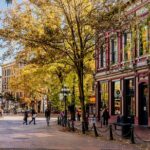
The tour starts from a convenient Vancouver meeting area at BurrardVancouver, BC V6C 0A4. If you’re staying downtown, east Vancouver, or in Burnaby, pickup may be available so you spend less time coordinating your own rides.
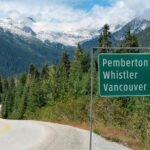
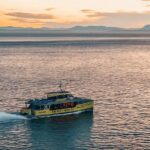
Once you’re in the van, the plan is straightforward: a scenic drive on the Sea to Sky Highway toward Squamish, Whistler, and Pemberton. This matters more than it sounds. Long drives like this can get boring on group tours, but here they function like your warm-up. You’re heading toward photo moments, so you can start thinking about light, angles, and how you’ll shoot once you stop.
You’ll also get help from your guide before you even reach the hiking portion. They provide details on what to wear and bring, and they ask follow-up questions to gauge your skill level. That’s a smart move. If you know the basics of exposure and composition, your time on trail gets more efficient. If you’re newer, you still won’t feel lost.
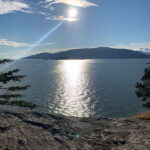
Sea to Sky Gondola: a scenic start with time to reset
The first official stop is the Sea To Sky Gondola. This is where the day shifts from city logistics to mountain air. You’ll be able to take in big views before the hike turns into something more physical.
Why I like this order: the Gondola stop helps you settle your energy. Instead of going straight into a long trail, you get a “breather” where you can grab photos without the pressure of moving quickly uphill. It’s also a chance to practice. Your guide can point out shooting ideas that you’ll later use at Joffre Lakes—how to handle distance, how to manage contrast, and how to shoot the same scene in a couple different ways.
And yes, you should still think about your camera setup early. If you’re bringing a DSLR, consider how you’ll carry it safely on the trail. If you’re shooting on a phone, you’ll want a stable grip and a plan for changing angles without dropping your settings.
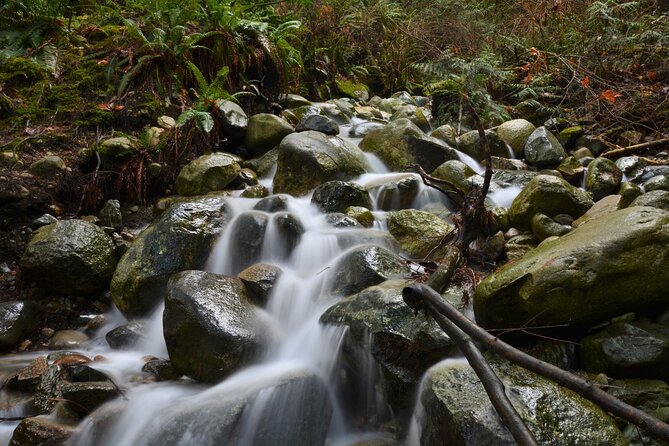
Shannon Falls Provincial Park: waterfall photos without the chaos
Next up is a stop at Shannon Falls Provincial Park. Waterfalls are tricky because they’re bright, fast, and full of detail. This is where a pro photographer guide earns their keep, because you’re not guessing.
What you’ll likely work on:
- figuring out how to frame the falls with the surrounding trees and rock
- learning how to capture water texture instead of just a washed-out white streak
- getting comfortable taking photos while you pause, then moving again as needed
The park stop also adds variety. After hours of hiking to lakes, it’s nice to have a different kind of subject—vertical water, strong shapes, and a clear point of interest. Even if the weather is changing, waterfalls can still produce good images because they keep moving no matter what the sky does.
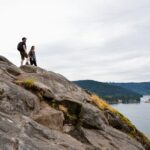
Joffre Lakes hiking: 6-hour round trip to glacier-cold rewards
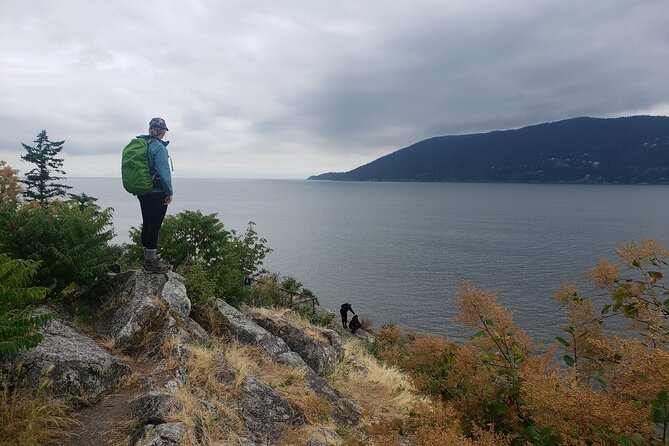
Now for the main event: the hike to Joffre Lakes. This is one of British Columbia’s most beautiful hikes, and it’s relatively easier to reach than some other alpine lake routes. But “easier to access” doesn’t mean “easy on your body.”
The hiking portion is about 6 hours round trip, and you should be in very good physical shape. The hike is described as being best for experienced hikers, and you’ll want to be ready for a tough final push. If you’re not used to long, demanding hikes, plan your energy carefully and take the guidance seriously when your guide points out pacing.
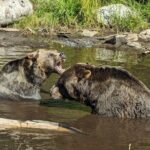
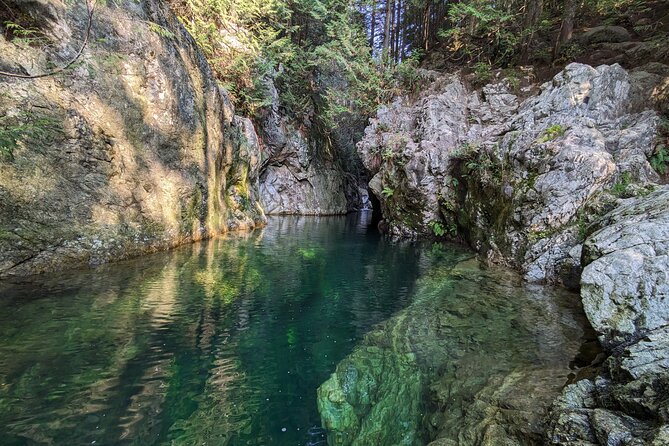
One detail I especially appreciate is the option to cool off. If you’re brave enough, you can take a dip in the ice-cold glacier lakes. It’s not required, but it’s one of those moments that turns photos into memories.


Eat, rest, then shoot again
There’s a real advantage to having time at the top for a picnic. The view lasts, and so do you. Instead of rushing through the best look, you can sit, eat, catch your breath, and then return to photography while your body is calmer.
What the trail feels like (and why gear matters)
You should expect cold periods and some wet sections. Dress in layers. It can be cold before you feel warm, and there are parts of the way where you may get wet. Waterproof shoes help a lot, and long socks make a big difference for comfort and bug protection.
Bug spray is a must for many people on this kind of BC hike. Also, bug bites can ruin a whole day of picture-taking, so take prevention seriously. You’ll also want to bring water and keep snacks simple. Since food and drinks aren’t included, your picnic plan is your main strategy for staying fueled.
The photo lesson part: how your guide helps you shoot on the move
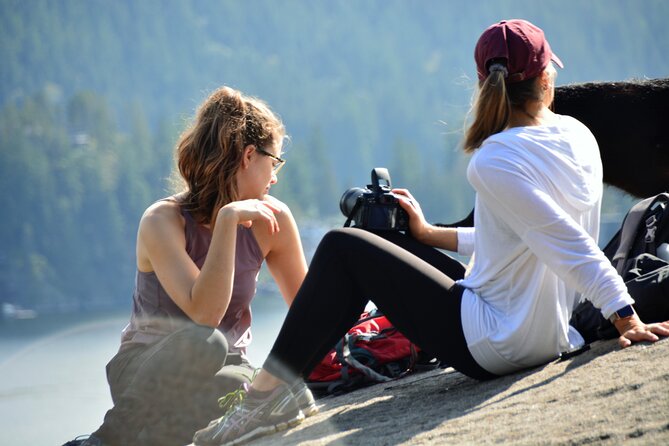
The heart of this experience is the photography instruction. You get a professional photographer guide with 20+ years of hiking and photography experience. The key phrase here is while you’re hiking. This isn’t classroom-only advice. You’re learning how to take photos as the trail changes: stepping into open views, moving past forest, then returning to wide glacier scenes.
Your guide teaches you about landscape photography, but the practical translation is what matters: they help you capture waterfalls, lakes, glaciers, and forests in a way that looks like you were there for the moment, not like you took a quick snapshot and hoped.
Because the group is small, you can get one-on-one fixes fast. That could mean:
- improving your framing when you’re shooting a lake at distance
- adjusting your approach when a waterfall is too bright
- changing how you hold your camera so you don’t rush your composition
This is also where smartphone users can benefit. You don’t need a fancy setup to learn good composition and timing. If you can aim, steady, and react, you can make images look better quickly.
Finally, your guide shares info about Indigenous people in the area. It’s not just nature facts. It’s context that helps you understand the land you’re walking through.
What to pack so the hike stays fun, not miserable
Food and drinks aren’t included, so plan like you’re responsible for your energy. The good news: you get a perfect reason to bring lunch—picnic time at the top.
I’d pack around this idea:
- Layers for shifting temperatures (cool before you heat up)
- Waterproof shoes and long socks to handle wet sections and reduce the chance of bug bites
- Bug spray
- Water, plus whatever you’ll eat for your picnic
- Your camera (DSLR or smartphone) and any comfort items you prefer for hiking days
One more tip from the real-world tone of the guidance: don’t treat the last stretch as casual. It can feel difficult for people who aren’t used to this kind of hike, but once you reach the third lake area, the payoff is the kind of view you’ll want to photograph slowly.
Price and value: is $161.38 a good deal?
At $161.38 per person, the price can look “touristy” until you break down what you’re actually buying. You’re getting three big things bundled together:
- transportation from downtown Vancouver (and nearby pickup options)
- a guided small-group hiking tour
- a professional photographer guide who teaches you during the hike
That last part is important. Many guided hikes offer nature facts. This one is built around photo instruction, so you get added value if photography is your goal or hobby.
What’s not included is straightforward: food and drinks. So your true cost depends on how you handle lunch and hydration. If you treat the picnic as part of the experience, you’ll likely feel good about the value.
Also, this is the kind of popular outing that tends to book ahead. On average it’s booked about 46 days in advance, which is a good sign if you want to avoid last-minute scarcity.
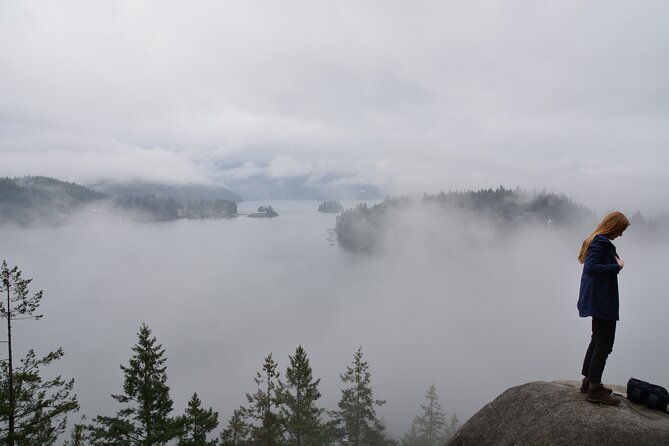
Weather rules: why it can run in all conditions, but still needs good weather
The tour operates in all weather conditions and you’re expected to dress appropriately. That sounds like a “we go no matter what” promise, and it is more of a “we’ll adjust how you experience it” setup.
At the same time, the experience requires good weather. If it gets canceled due to poor weather, you’ll be offered a different date or a full refund. That’s the balance you want: the plan isn’t fragile, but safety and conditions still matter.
So your best strategy is simple: pack for cold and damp, but also stay flexible in your schedule mindset.
Small group, long day: who this suits best
This tour is best for active people who are comfortable with a long hike. You’ll be walking around 6 hours round trip, and the experience includes significant drive time from Vancouver. If you’re the kind of traveler who hates being rushed, or you want your photos to improve, you’ll probably love it.
You should think twice if you:
- hate long uphill days
- aren’t confident with hiking in cold or wet conditions
- need a very slow pace and lots of rest breaks
On the other hand, the small group size means your guide can offer practical help when you need it. Some people find the hike challenging but manageable with the guide’s pacing and coaching, especially when you’re focused on making it to the main lakes rather than racing the trail.
Should you book it? My honest take
Book it if you want a guided day that combines big BC views with actual hands-on photography coaching. The small group size makes a real difference, and the option to picnic at the top turns the highlight moment into something you can enjoy instead of just pass through.
Skip it if you’re short on fitness, don’t handle long days well, or you only want a quick “hit the main sights” outing. You’re paying for the full experience, which includes serious walking and a long drive day.
If you fall in the middle, be honest about your stamina and pack for wet, cold trail conditions. The payoff at Joffre Lakes is the kind that makes the effort feel worth it.
FAQ
How long is the tour?
The hiking portion is about 6 hours round trip, and the overall day can run much longer due to transportation time from Vancouver.
Is pickup from downtown Vancouver available?
Pickup is offered from downtown Vancouver, east Vancouver, or Burnaby. If you’re not in those areas, you can meet at a central location and drive to the trail.
What is the meeting point?
The tour starts at BurrardVancouver, BC V6C 0A4, Canada, and it ends back at the meeting point.
How many people are in the group?
The maximum group size is 7 travelers.
What language is the tour offered in?
The tour is offered in English.
What’s included in the price?
Included are a professional photographer guide, transportation, and a guided small-group hiking tour.
Is food included?
No. Food and drinks are not included, so you’ll want to plan your own picnic and water.
Is this tour suitable for DSLR or smartphone cameras?
Yes. It’s suitable for both DSLR cameras and smartphones.
Does the tour run in all weather?
The experience operates in all weather conditions, but it requires good weather. If it’s canceled due to poor weather, you’ll be offered a different date or a full refund.
What happens if I cancel?
You can cancel up to 24 hours in advance for a full refund. If you cancel less than 24 hours before the start time, the amount paid won’t be refunded.