REVIEW · VANCOUVER
Photography & Walk at Night
Book on Viator →Operated by Nature PhotoHikes · Bookable on Viator
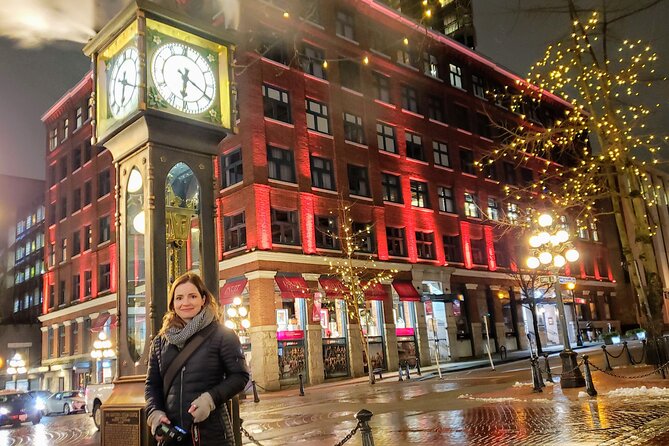
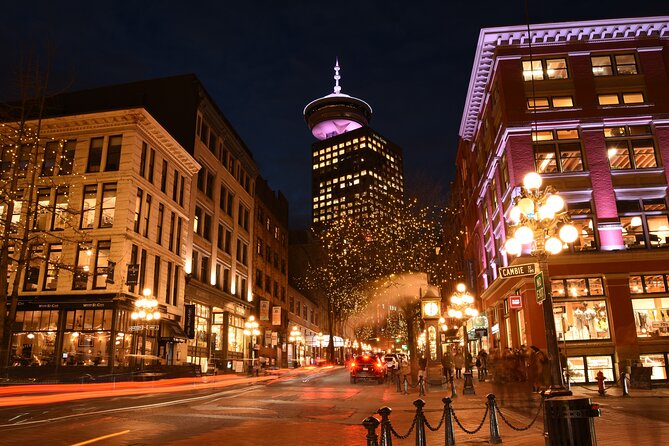
Steam Clock glow makes night photos easier. This small-group night photography experience is built around hands-on long-exposure coaching, so you learn how to translate Gastown’s lights and textures into sharp, confident images. You can shoot with a DSLR or a camera phone, and your guide keeps things practical as you walk, frame, and adjust.
What I love most is the one-on-one style instruction from the photographer-guide, including the tips you need for long exposure and night shots right where you’re standing. I also like that you can borrow a DSLR camera and tripod, so you’re not forced to buy gear just to try night photography.
One possible drawback: the main Gastown session is about an hour, so it’s best for travelers who want focused coaching—not a long, multi-area photo safari.
In This Review
- Key things you’ll notice right away
- Gastown’s Steam Clock: why night photos start here
- Small-group pacing and one-on-one help from Nafees
- DSLR and tripod loans: what you get and how to prep
- Long-exposure basics for DSLR shots in streetlight
- Phone night photography: tips that don’t require a camera course
- The walking route: what to look for as you move
- If Victoria is on your route: harbour lights and classic stop points
- The photoshoot option: when you want direction, not just teaching
- What to wear, bring, and expect from the night timing
- Price and value: $38.16 for a focused night session
- Should you book Photography & Walk at Night?
- FAQ
- Where does the tour start?
- What time does the tour begin?
- How long does the experience take?
- How many people are in the group?
- Do I need to bring my own camera?
- Is a DSLR and tripod included?
- Is food included?
- Is the tour offered in English?
- What if the weather is poor?
- Can the itinerary change for activities like whale watching?
Key things you’ll notice right away
- Gastown’s Steam Clock and cobblestone streets make a natural “lights + texture” photo classroom
- Long-exposure techniques for DSLR plus phone-friendly night shooting tips, both taught on the move
- DSLR and tripod loan included, so you can focus on technique instead of gear anxiety
- Max 7 travelers, which helps you actually get answers while you’re photographing
- Photo-shoot option if you’d rather be guided on what to shoot than just learn settings
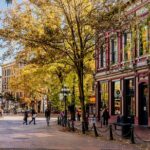
Gastown’s Steam Clock: why night photos start here
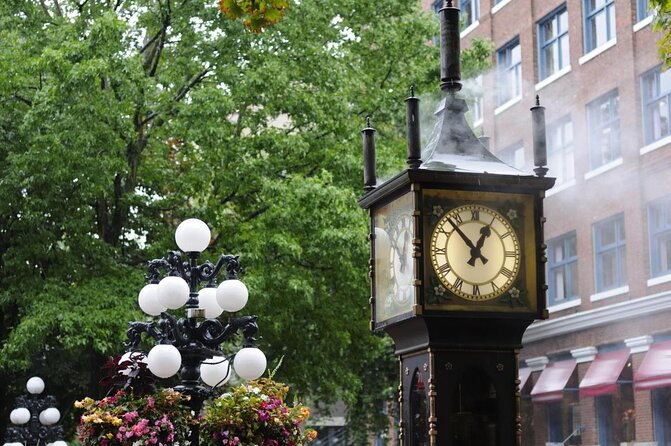
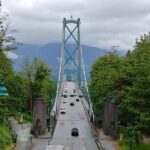
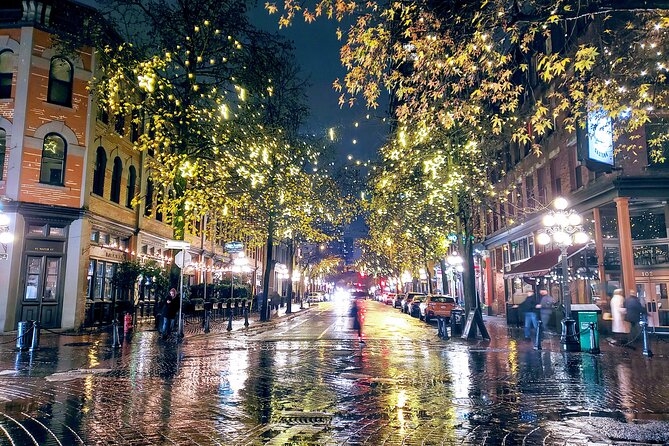
Gastown is one of those Vancouver neighborhoods where night photography isn’t just possible—it’s the whole point. The cobblestone streets catch reflections. Street lamps and shop lights add color and contrast. And the Steam Clock gives you a built-in focal point that looks good from more than one angle.
That matters because night photos are mostly about control: controlling steadiness, controlling exposure, and controlling where your eye goes. A guided walk in the right location saves you time. Instead of guessing where the best light will hit, you start with a place designed for storytelling—old industrial vibes, steam-era details, and modern city lighting all in one frame.
You can also read our reviews of more evening experiences in Vancouver

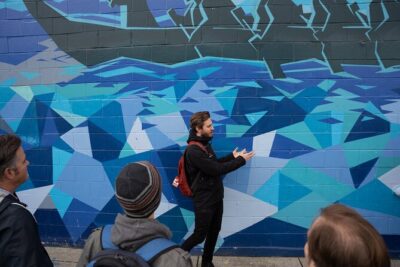
Small-group pacing and one-on-one help from Nafees
This tour caps out at 7 travelers, and the vibe is clearly hands-on. The photographer-guide doesn’t just point you down a street and hope you figure it out. You get instruction geared to what you’re using (DSLR or phone) and what you’re trying to capture.
In the reviews, the guide name that comes up most is Nafees, and that’s a good clue about the teaching style: people mention learning both Gastown context and photography tactics at the same time. You’ll be walking through the area’s iconic spots and also picking up the stories that help you frame your shots with intention—rather than just clicking into the dark.
DSLR and tripod loans: what you get and how to prep
One of the smartest value points here is that you can borrow a DSLR camera and tripod. Night photography is where a tripod can change everything, because steadiness is the difference between a glowing blur and a crisp image of streetlights, steam, and building edges.
If you’re bringing your own camera, great. If not, you’re still covered. That means you can focus on learning instead of troubleshooting gear before the fun starts.
Before you meet up, I’d do two simple checks:
- Charge your phone (if you’re shooting with it) or confirm your camera battery level
- Wear layered clothing and comfortable walking shoes, since the tour is outdoors and you’ll be moving between photo spots
The tour is also set up for small-group interaction, so having your camera (or borrowed gear) ready helps you get the most out of each stop.
Long-exposure basics for DSLR shots in streetlight
The core instruction covers long exposure for DSLR cameras. Long exposures are the classic way to make night streets look cinematic: light trails, smoother gradients, and a sense of time you can’t get with a quick snapshot.
The big win of doing this with a guide is that you’re not learning in isolation. You’ll practice with the actual scene in front of you—Steam Clock moments, reflections on stone, and those sharp lines that night lighting exaggerates.
In real terms, long exposure usually means three things you’ll be thinking about while you shoot:
- Stability (that’s where the tripod comes in)
- Exposure balance (so the image stays detailed, not just bright)
- Timing and repositioning (so you can compare shots fast)
Even if you’re a beginner, you’ll come away with a clearer process. You’ll know what to try next time you’re on your own at night.
Phone night photography: tips that don’t require a camera course
You don’t have to bring a DSLR to enjoy this. The tour includes night shots with camera phones, which is great because most people travel with a phone and want photos that look good without extra gear.
The guide’s job here is to help you get consistent results. That typically means focusing on practical behaviors like steadying your shot, managing how light is handled, and framing so the image doesn’t turn into a random blur of neon.
I like this approach because phone night photography can feel like a guessing game. A guided walk turns it into a set of learnable steps: you shoot, adjust, and compare while someone is there to point out what’s working.
You can also read our reviews of more photography tours in Vancouver

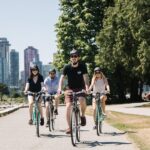
The walking route: what to look for as you move
The tour includes a walking excursion through Gastown, with the famous Steam Clock and other spots for night photography. The point isn’t just to see sights—it’s to train your eye while you’re seeing.
Here’s what I’d watch for as you go:
- Where the light hits the stone and creates reflections
- Angles that let you include a recognizable landmark while keeping the background controlled
- Corners and storefronts where contrast helps your subject pop
You’ll also get a glimpse of places to eat and drink, with guidance aimed at night photography. That’s useful even beyond the tour, because you’ll learn what kind of streets and atmospheres tend to produce better photos.
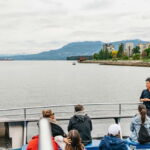
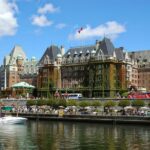
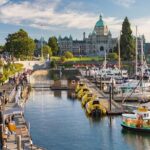
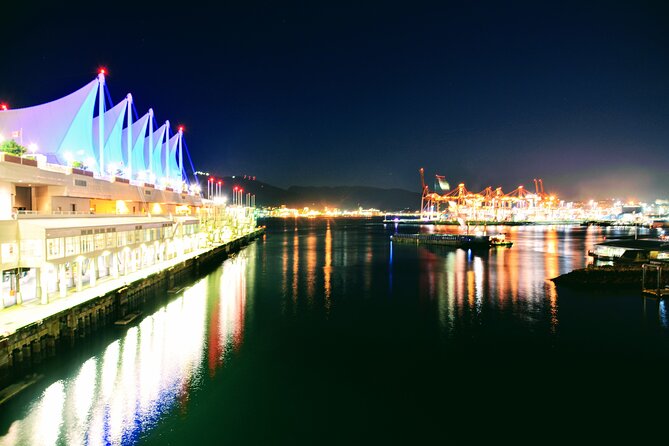
If Victoria is on your route: harbour lights and classic stop points
The broader concept of the experience is photography plus sightseeing, and it includes the idea of time in Victoria with routes that pass through well-known areas like Fisherman’s Wharf, Chinatown/Fan Tan alley, Market Square, and Beacon Hill Park. It even highlights Beacon Hill Park’s connection to mile 0 of the Trans Canada Highway.
It also mentions flexibility if you want to add activities such as whale watching—tell your guide and they can adjust the Victoria portion.
Why this matters for photography: harbor towns and historic commercial strips tend to give you built-in light sources—water reflections, streetlamps, and storefront signage. If your schedule includes the Victoria component, you’ll likely appreciate how different the lighting feels compared with downtown Vancouver streets.
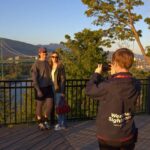
The photoshoot option: when you want direction, not just teaching
The experience includes a photoshoot, and there’s also an option to swap away from pure instruction. The tour notes that you can do photo shoots instead of the learning portion if that’s your preference.
That’s ideal if you’re thinking:
- I don’t want to learn settings; I want results
- I’d rather be guided on framing and posing while the light is good
- I’m traveling with family and want photos that look intentional
In other words, you can treat this as either a mini workshop or a guided picture session. That flexibility is a hidden advantage for different styles of travelers.
What to wear, bring, and expect from the night timing
Night photography rewards comfort, because being cold or distracted makes it harder to concentrate. The practical advice here is simple: wear layered clothing, bring your camera (any kind), and plan for walking.
Since the start time is 5:00 pm in Gastown, you’ll be shooting in that early evening window when the sky is still fading and lights start to take over. That’s a sweet spot for photos, because you often get more color than you’d get late-night darkness alone.
Also, remember you may be using borrowed gear. Handle it carefully, keep your tripod stable, and treat the session like a focused workshop rather than a casual stroll.
Price and value: $38.16 for a focused night session
At $38.16 per person for about 1 hour, this is not a splurge. It’s priced like a targeted activity—short enough to fit into your day, structured enough to be worth it.
Where the value shows up:
- A professional photographer-guide to correct your framing and technique in real time
- Small group size (up to 7), which usually means less waiting around
- DSLR + tripod loan included, saving you both hassle and gear costs
- Practical instruction for both DSLR long exposure and phone night shots
It’s also a good pick if you’re traveling with limited time but still want images that look more deliberate than typical “vacation snaps.”
One small planning note: the experience is commonly booked about 50 days in advance on average. If you have a specific date in mind, booking earlier can help lock in your preferred slot.
Should you book Photography & Walk at Night?
If you want better night photos and you’d rather learn than guess, this is a strong fit. I especially recommend it if you:
- Have a phone or basic camera and want night results that look intentional
- Want to try long exposure with a tripod without buying gear
- Like walking tours where someone gives guidance, not just background stories
I’d skip it if you’re looking for a long, multi-hour program with lots of separate neighborhoods to explore. The Gastown portion is short by design, so it’s best for travelers who want focused coaching and then freedom afterward.
If weather cooperates and you show up with comfortable shoes, you’ll leave with photos that actually reflect what you saw—and more importantly, a process you can reuse next time the city turns on its lights.
FAQ
Where does the tour start?
You start at the Gastown Steam Clock, 305 Water St, Vancouver, BC V6B 1B9, Canada.
What time does the tour begin?
The start time is 5:00 pm.
How long does the experience take?
It’s listed at about 1 hour.
How many people are in the group?
The tour has a maximum of 7 travelers.
Do I need to bring my own camera?
No. You can use any camera you have, including a phone. A DSLR and tripod can also be borrowed.
Is a DSLR and tripod included?
Yes. The tour includes borrowing a DSLR camera and a tripod.
Is food included?
No. Food and drinks aren’t included.
Is the tour offered in English?
Yes, it’s offered in English.
What if the weather is poor?
This experience requires good weather. If it’s canceled due to poor weather, you’ll be offered a different date or a full refund.
Can the itinerary change for activities like whale watching?
The tour notes that there is flexibility to modify the Victoria itinerary if you want activities such as whale watching—just let your guide know.