REVIEW · VANCOUVER
Vancouver: Stanley Park Bike Tour | E-Bike Upgrade Avail.
Book on GetYourGuide →Operated by Toonie Tours · Bookable on GetYourGuide
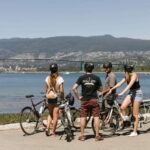
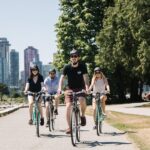
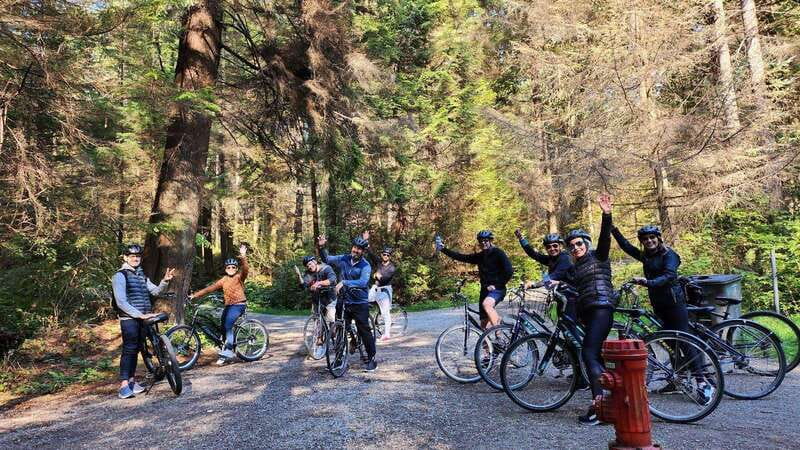
Stanley Park feels bigger on two wheels. In a 3-hour loop with a local guide, you glide through Vancouver’s nearly 1000-acre backyard—old-growth forest, coastal views, and those classic skyline photo angles that make the park famous. You also get real context for what you’re seeing, including Indigenous culture tied to the park’s totem poles.
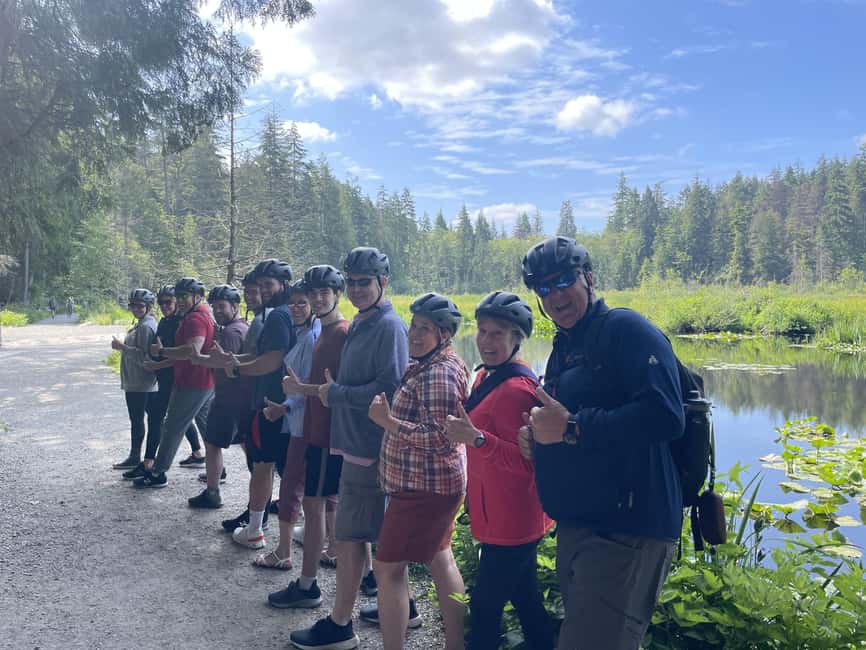
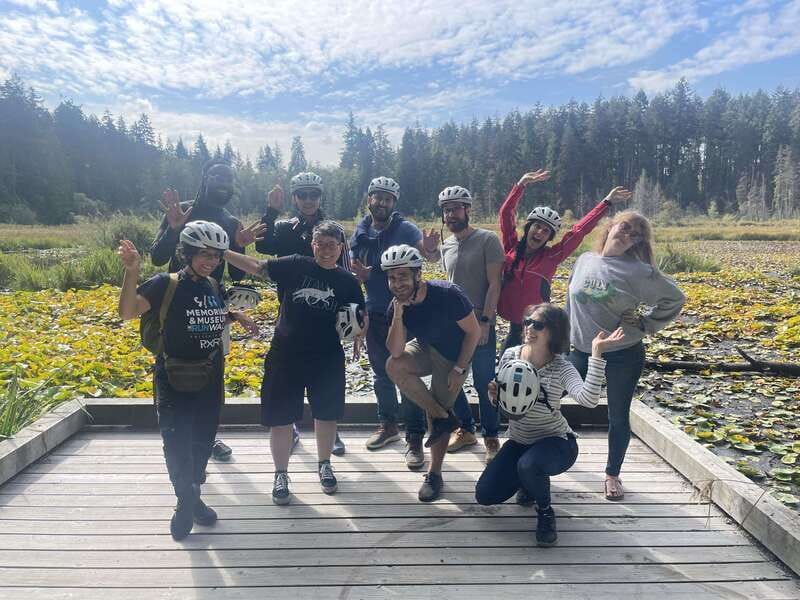
I especially like how the tour mixes quiet nature moments with waterfront stops, so you don’t just “pedal past scenery.” The small group size (no more than 12) keeps things relaxed and lets the guide steer you to calmer corners instead of only the busiest viewpoints. One drawback: this tour isn’t suitable for wheelchair users, so plan a different option if mobility access is a must.
In This Review
- Key things to look forward to
- Stanley Park by bike: why this 3-hour loop works
- Getting started at Spokes Bicycle Rentals (West Cordova St.)
- The seawall and old-growth forest stretch that sets the tone
- Totem poles stop: more than a photo break
- Vancouver Harbour, West End, and the quick stops that keep momentum
- Beaches from Second Beach to English Bay: salt air timing
- Brockton Point Lighthouse and Lions Gate Bridge for the money shots
- Lost Lagoon and the Rose Garden: when the park slows down
- E-bike upgrade: extra $65 and who it’s for
- Price and value: is $69 a smart buy?
- Weather, what to pack, and how to stay comfortable
- Who should book this tour (and who might not)
- Should you book this Stanley Park bike tour?
- FAQ
- How long is the Vancouver: Stanley Park Bike Tour?
- How much does the tour cost?
- Where do I meet the guide?
- What’s included in the price?
- Can I upgrade to an e-bike?
- Is there an age requirement for e-bikes?
- Does the tour run in bad weather?
- What should I bring?
- Is it a small-group tour?
- Is the tour suitable for wheelchair users?
- Is there a free cancellation option?
Key things to look forward to
- Nearly 1000 acres of Stanley Park, covered in a timed, easy-to-follow route
- Old-growth rainforest moments that feel cool, shaded, and properly Vancouver
- Totem poles break with a focused stop and photo time, not a quick drive-by
- Brockton Point Lighthouse and Lions Gate Bridge photo stops timed into the ride
- E-bike upgrade available for a smoother pace (age limit applies)
Stanley Park by bike: why this 3-hour loop works
A lot of Stanley Park sightseeing is either a walking slog or a drive-and-park routine. This bike tour gives you a third option: you cover real distance without feeling rushed, and you spend enough time in the best areas to actually notice them. At three hours, it’s long enough to feel satisfying, but short enough that you won’t arrive back at Spokes Bicycle Rentals fried and cranky.
The route also makes sense. You don’t just chase the big headline spots. You get a mix of old-growth shade, harbour views, and beach air, plus two small nature stops (Lost Lagoon and the Rose Garden) that change the mood at the right time.
If you’re the kind of visitor who likes learning while you move—history, Indigenous culture, and local lore—this fits that style. If you prefer a totally unstructured hangout, you might wish for more free time. But for most people, the timed stops are a smart way to see more without stress.
You can also read our reviews of more cycling tours in Vancouver

Getting started at Spokes Bicycle Rentals (West Cordova St.)
Your tour begins at Spokes Bicycle Rentals on West Cordova St., and you meet your guide inside. That’s useful because you can get sorted fast—helmet on, bike fit checked, and questions answered before you roll into the park.
The bikes are a core part of the value here. The tour promises comfortable, top bikes for the ride, and the guide role matters too: safety and smooth navigation in a busy park are not something you want to wing. With a small group (up to 12), it’s easier for the guide to keep everyone together without turning the ride into a line of single file chaos.
One practical note: you’ll need to sign a liability waiver before the tour starts. It’s normal, but it helps to plan a minute for paperwork so you’re not stuck scrambling at the counter.
The seawall and old-growth forest stretch that sets the tone
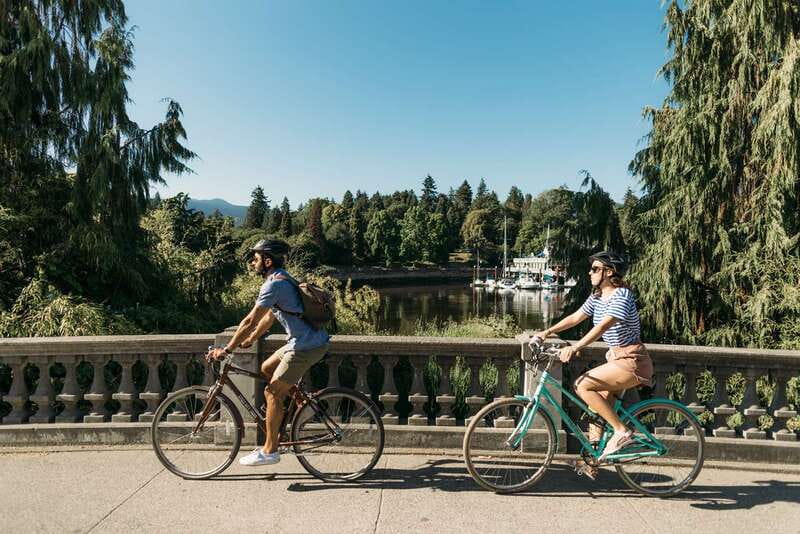
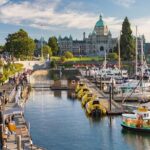
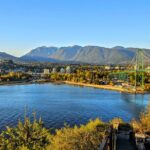
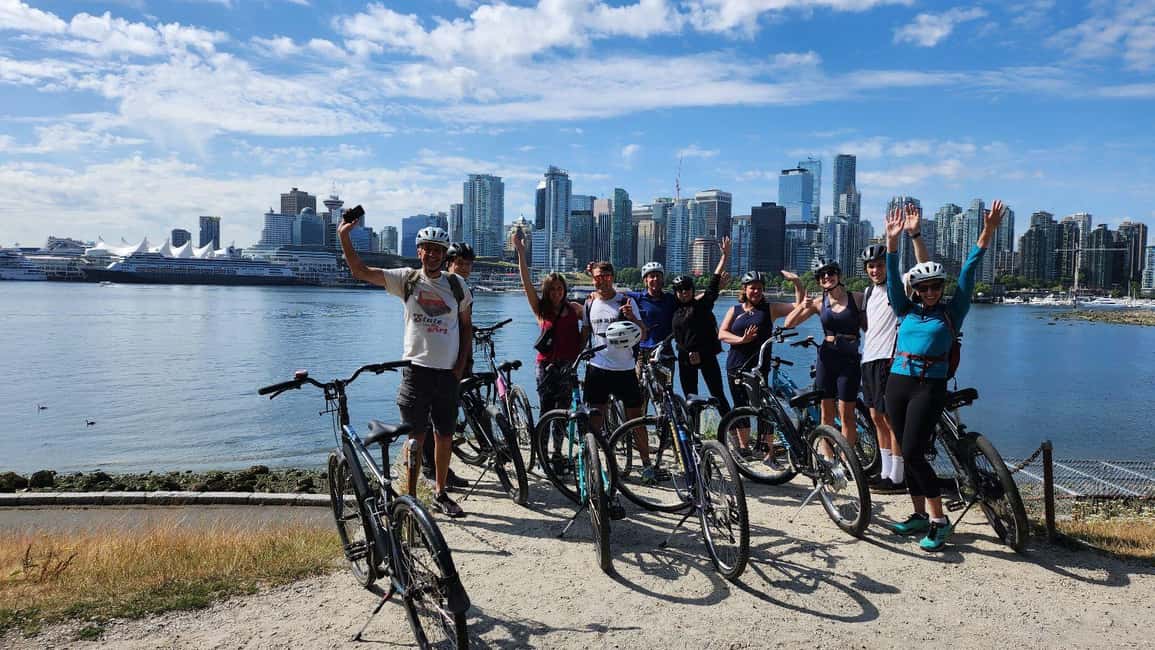
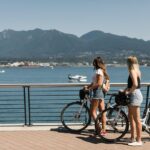
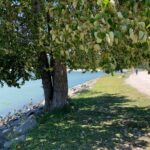
The ride starts with about 1.5 hours in Stanley Park, which is where the whole experience earns its reputation. You get the classic coastal feel right away, with views that can include Vancouver’s skyline and the mountain backdrop. This is the part where biking works better than walking: you can cover the long stretches along the water without running out of energy.
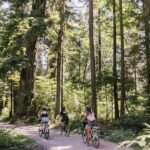
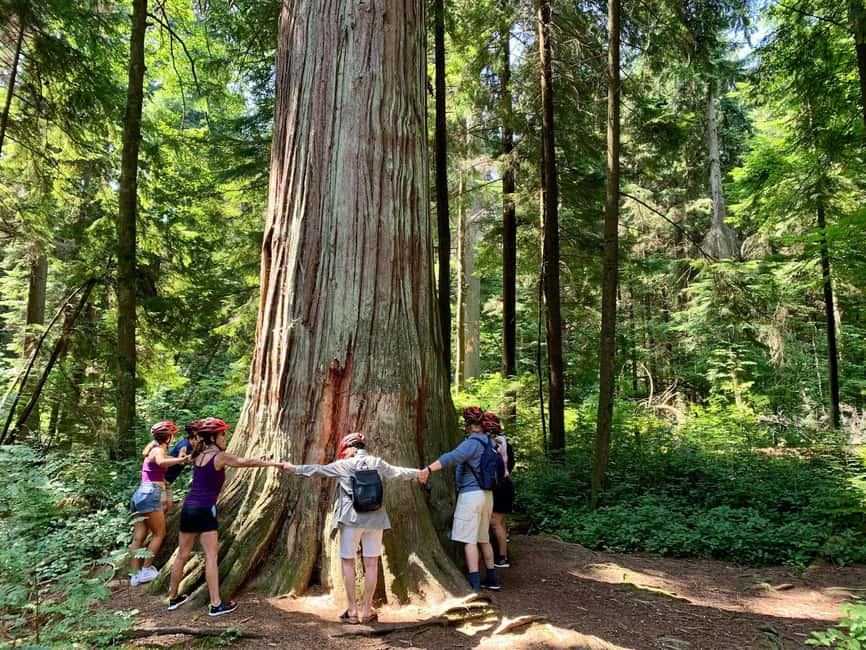
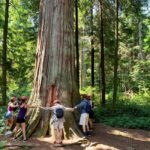
Then there’s the forest shift. Stanley Park is known for its old-growth character, and on a bike you feel the contrast—bright sky near the coast, cool shade under towering trees. If you like sensory travel, you’ll likely notice the mix of coastal breeze and that damp-forest smell that shows up in shaded areas (moss, bark, and greenery tend to do that).
The main downside is the same for any outdoor activity: come prepared. In shoulder season, cold fingers and damp air can drain you. The tour is rain or shine unless conditions get dangerous, and rain gear is part of the plan (more on that later).
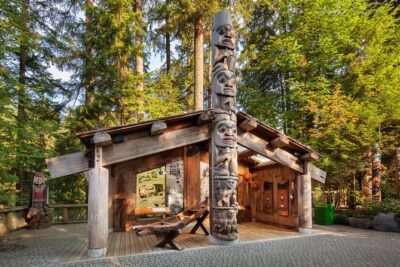
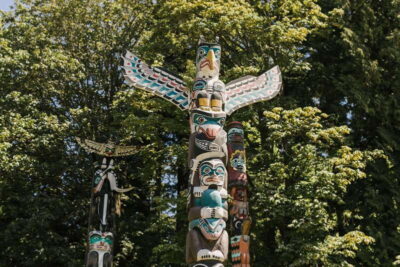
Totem poles stop: more than a photo break
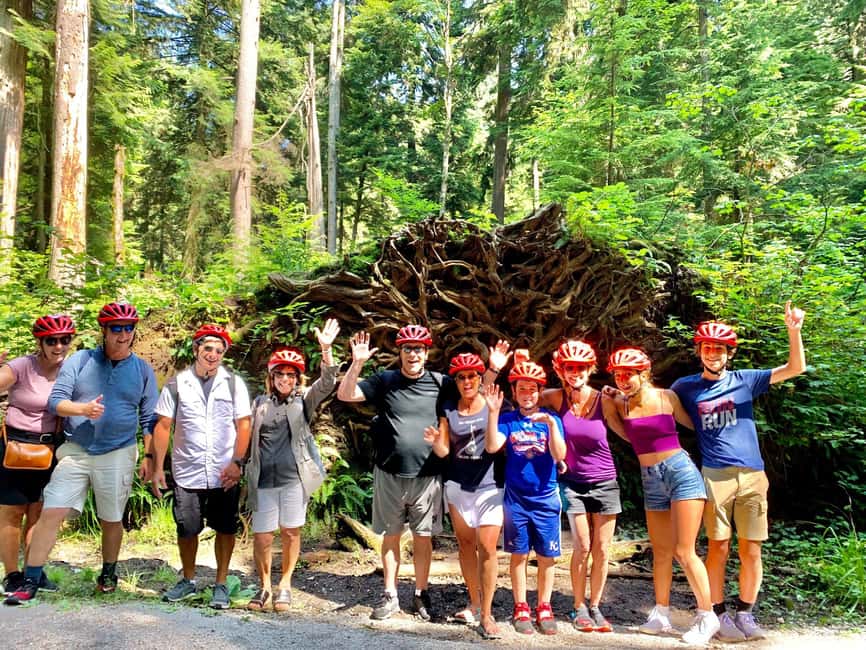
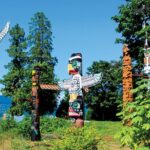
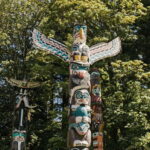
You’ll pause at the Stanley Park Totem Poles with a break that includes photo time and a short visit (about 15 minutes). This is one of those stops that’s easy to miss if you’re doing your own route, because it’s not just a “look and move on” moment—this is where cultural context matters.
The guide is the difference maker. You’re not just getting directions and skyline angles. You’re also getting the story behind the totem poles and what Indigenous culture adds to the park experience. Even if you’ve seen totem poles elsewhere, this setting in Stanley Park has its own atmosphere, and the timing works: you’re not exhausted yet, so you can actually take in the details.
The only thing to watch: you’ll likely want to photograph here, so have your camera ready before you stop. This is one of the shorter visits on the day, so don’t burn your best shots adjusting settings from scratch.
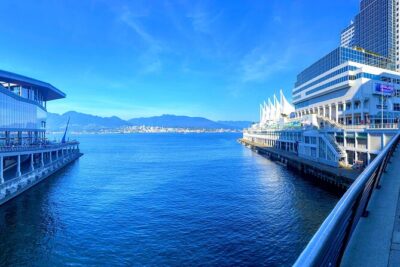
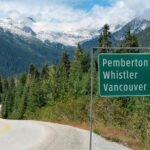
Vancouver Harbour, West End, and the quick stops that keep momentum
After the totem poles, the tour carries you toward Vancouver Harbour for around 30 minutes of biking and sightseeing. This stretch is valuable because it balances the forest feeling with open water views. You get the sense of Vancouver as a city built on edges: mountains nearby, harbour activity in the background, and the skyline hovering like a constant reference point.
Then there’s a quick hop to the West End (about 15 minutes). The stops here are shorter, so they work like punctuation—good for grabbing views without draining time.
You also get small photo-and-visit moments, including:
- A-Maze-Ing Laughter (photo stop and visit about 15 minutes)
- A couple of additional quick stops along the way (some are listed as photo stops with brief visits)
These shorter segments might feel “minor” on paper, but they prevent the day from becoming one long stretch of riding. You get to reset your eyes, stretch your legs, and keep the energy up for the next bigger viewpoint.
You can also read our reviews of more tours and experiences in Vancouver

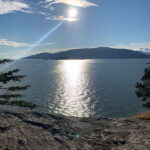
Beaches from Second Beach to English Bay: salt air timing
You’ll spend time near the water again with quick stops at Second Beach and English Bay Beach. Second Beach is a brief sight window (about 5 minutes), followed by roughly 15 minutes at English Bay.
Even with the short timing, these spots do something important: they change the sensory vibe. The park’s forest shade gives you one feel; the beach gives you another. On a bike tour, that rhythm matters. Your body doesn’t mind moving, but your brain appreciates variety.
This is also where you can take advantage of lighting for photos. Vancouver’s coastline can throw up strong contrast depending on clouds, and beach stops are your chance to angle shots without needing a full stop-and-walk detour.
If you hate wind, keep that in mind. Coastal areas can get breezy, especially in cooler months, and the tour runs year-round in normal conditions—gloves can be a lifesaver.
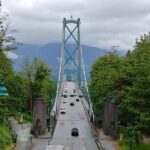
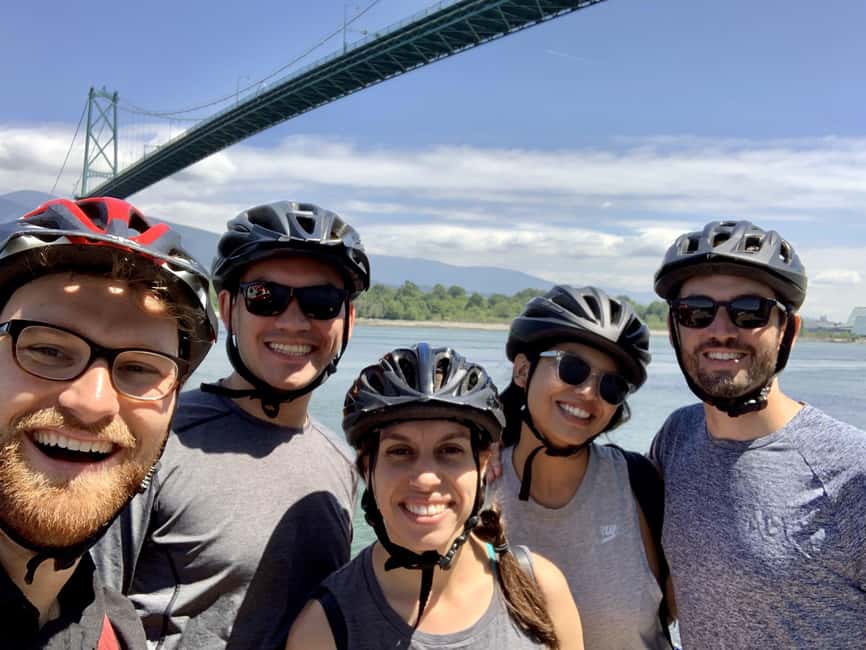
Brockton Point Lighthouse and Lions Gate Bridge for the money shots
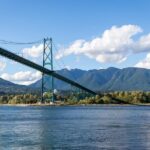
Two of the most memorable viewpoint moments are built into the route: Brockton Point Lighthouse and Lions Gate Bridge.
You’ll have a photo stop and short visit at Brockton Point Lighthouse (about 5 minutes). It’s brief, but this lighthouse-and-water angle is the kind of thing that’s hard to recreate later from memory. The short stop is actually a plus if you’re riding with a group, because it keeps traffic flow smooth and keeps you from lingering when the ride schedule matters.
Then you get a photo stop at Lions Gate Bridge (about 5 minutes). This is exactly the kind of stop that works on a guided bike tour: you don’t need long hiking time, but you do need the right timing and positioning—something a guide can help you with.
There’s also another quick photo stop and visit listed later (also around 5 minutes). Don’t expect a deep explanation on these micro-stops, but do expect the guide to point out what to notice so your photos don’t turn into just another skyline blob.
Lost Lagoon and the Rose Garden: when the park slows down
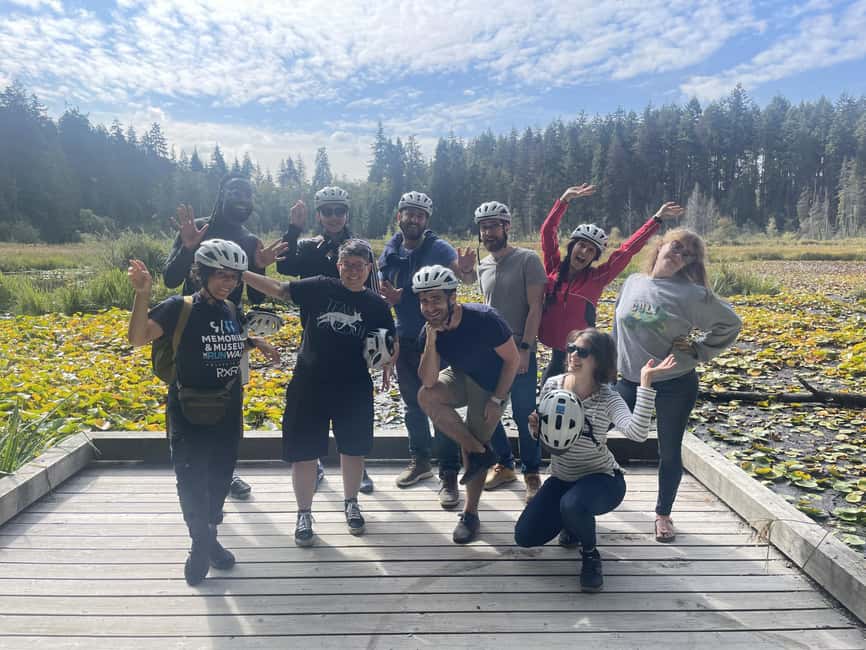
After the bridge viewpoints, the tour gives you two slower-feeling nature stops that add a calmer ending.
First is Lost Lagoon with a photo stop and visit of about 15 minutes. This is a good place to breathe. Lagoon time feels different from seaside time, and the extra minutes help you actually look instead of just snap-and-go.
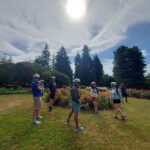
Next you’ll stop at the Stanley Park Rose Garden for about 5 minutes as a photo stop and visit. Even if you’re not a hardcore garden person, a quick rose stop is a nice reset. It adds colour and a change of texture right before you roll back to the rental shop.
If you’ve been taking lots of photos all day, these are also where you’ll want to put your camera down for a minute. The whole point of the longer 1.5-hour park segment was to feel the place, and these final stops help you end with something softer.
E-bike upgrade: extra $65 and who it’s for
You can upgrade to an e-bike for an extra $65 (including tax), subject to availability. That’s a real cost increase, but it can be worth it if you want to enjoy the ride without worrying about energy. The e-bike option is also a helpful choice if mobility or fitness considerations matter for you.
There’s a clear rule: you must be 16 years old or older to use the e-bikes. If that affects your group, plan ahead so everyone is matched to the right bike type.
One thing I like about offering both options is that it keeps groups together. You aren’t forced to choose between “all pedal power” and “solo sightseeing.” If you’re unsure, consider booking standard bikes and upgrading later only if you want that extra assist.
Price and value: is $69 a smart buy?
At $69 per person for a 3-hour guided bike tour, the value comes from the combo: park access + bike and helmet rental + a guide who’s focused on local storytelling. You’re not paying just for movement. You’re paying for someone to help you see the park in a way that takes less effort to figure out on your own.
Small-group operation (up to 12 people) matters here. When the group is tight, the guide can keep the pace comfortable and give more useful attention at stops like the totem poles and viewpoint moments.
Also, the guide component is repeatedly central to satisfaction. You can expect enthusiasm and local historical context, plus practical safety focus. In other words, this isn’t just someone handing you handlebars and waving goodbye.
The one pricing “gotcha” is the optional upgrade. If you add the e-bike, that’s an additional $65 per person on top of the base price. For mixed groups, the cost difference can add up, so think about how much energy you want to spend versus how much you want to spend money.
Weather, what to pack, and how to stay comfortable
This tour runs rain or shine unless conditions are dangerous. When it’s wet, the operator provides rain ponchos, which is better than hoping you packed something that will actually work. Still, your comfort is your job, so bring the items that keep your day from turning miserable.
Here’s what to bring:
- Comfortable shoes
- Camera
- Comfortable clothes
- Cash
For shoulder season, plan for cooler air and damp hands. Gloves and warm layers are highly recommended, even if the poncho covers your torso. You’ll feel cold faster when you’re riding, and Vancouver wind by the water doesn’t ask permission.
Also remember: you’ll be cycling, so you want clothes that move without snagging and shoes that grip. A bike day is not the time for squeaky flip-flops.
Who should book this tour (and who might not)
This is a strong choice for:
- People who want to see more than the Seawall-only route
- Visitors who like learning on the move, including Indigenous culture context
- Cyclists who enjoy a planned ride with short stops for photos and short walks
- Families who want a structured way to cover a big park without spending the day guessing
It may not be the best choice if:
- You need wheelchair access (it isn’t suitable for wheelchair users)
- You want long, slow wandering time at each sight (several stops are intentionally brief)
- You hate any chance of rain and dislike riding even with ponchos
If you’re mainly after the biggest views and photos, this tour still works—because the route builds in lighthouse and bridge viewpoints. If you want pure relaxation with no schedule, you may prefer a shorter ride or a self-guided route.
Should you book this Stanley Park bike tour?
I think you should book if you want a guided, efficient way to cover Stanley Park’s best mix: old-growth forest, waterfront breathing space, and a couple of standout viewpoints that are hard to time perfectly on your own. The small group setup makes it feel personal, and the guide’s focus on local history and culture changes the totem poles from a roadside attraction into a meaningful stop.
I’d skip it if wheelchair access is needed, or if you want a totally unstructured day with lots of free wandering. And if you’re tempted by the e-bike upgrade, consider it a comfort choice, not a “better tour” guarantee.
If you like value, planning, and real Vancouver nature in just three hours, this one earns a spot on your itinerary.
FAQ
How long is the Vancouver: Stanley Park Bike Tour?
The tour duration is 3 hours.
How much does the tour cost?
The price is $69 per person.
Where do I meet the guide?
Meet your guide inside Spokes Bicycle Rentals on West Cordova St.
What’s included in the price?
Included are bicycle and helmet rental, riding along the world-famous seawall, and a local guide.
Can I upgrade to an e-bike?
Yes. E-bike upgrades are available for an extra $65 (including tax), subject to availability. You need to contact the operator in advance to upgrade.
Is there an age requirement for e-bikes?
Yes. You must be 16 years old or older to use the e-bikes.
Does the tour run in bad weather?
It operates rain or shine unless conditions are dangerous. Rain ponchos are provided when it’s raining.
What should I bring?
Bring comfortable shoes, a camera, comfortable clothes, and cash.
Is it a small-group tour?
Yes. The group is kept intimate with no more than 12 participants.
Is the tour suitable for wheelchair users?
No, it is not suitable for wheelchair users.
Is there a free cancellation option?
You can cancel up to 24 hours in advance for a full refund.